Help Center
Creating and Launching a Signing Session
How to Create a Signing Session
After choosing the file type and uploading a document, click the gray square with a plus button next to the file to schedule a signing session. In the pop-up, you’ll give the signing session a name, designate the signer, set the date and time, and choose a notary and witness from your team to join.


When a signing is scheduled successfully, you’ll see the gray square has turned blue with a number indicating the number of signing sessions associated with the file.
How to Start or Launch a Signing Session
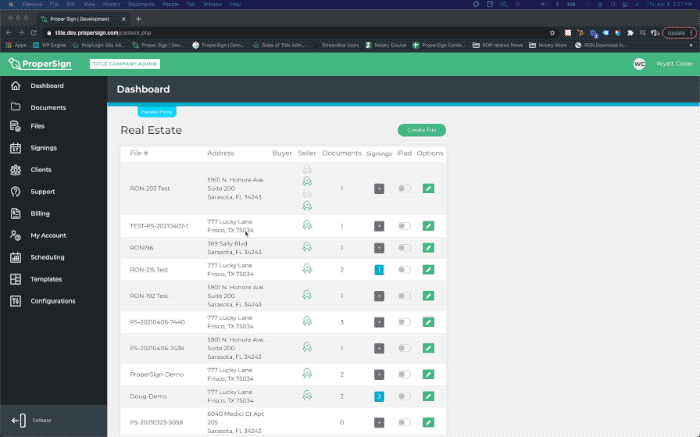
To launch the signing session, click the blue box with the number inside. A menu will appear to the right of your files with the following options: Delete, Edit, or Launch. If you get a No Signings Found message, you’ll need to create a signing session for the file.
You will be taken to the signing session, where you’ll be able to verify that the signer has passed the ID verification and KBA check. Once you’ve confirmed the identity of the signer, start the signing session to begin recording.
